Baking with yeast can be both a rewarding and sometimes tricky experience. Yeast is a living organism that plays a crucial role in making dough rise and giving bread its light and airy texture. Understanding the science behind how yeast works and knowing how to troubleshoot common issues can help you master the art of yeast-based baking. Whether you’re making bread, rolls, or pizza dough, having a solid grasp on yeast and how it functions will ensure your baked goods turn out perfectly every time.
How Yeast Works in Baking
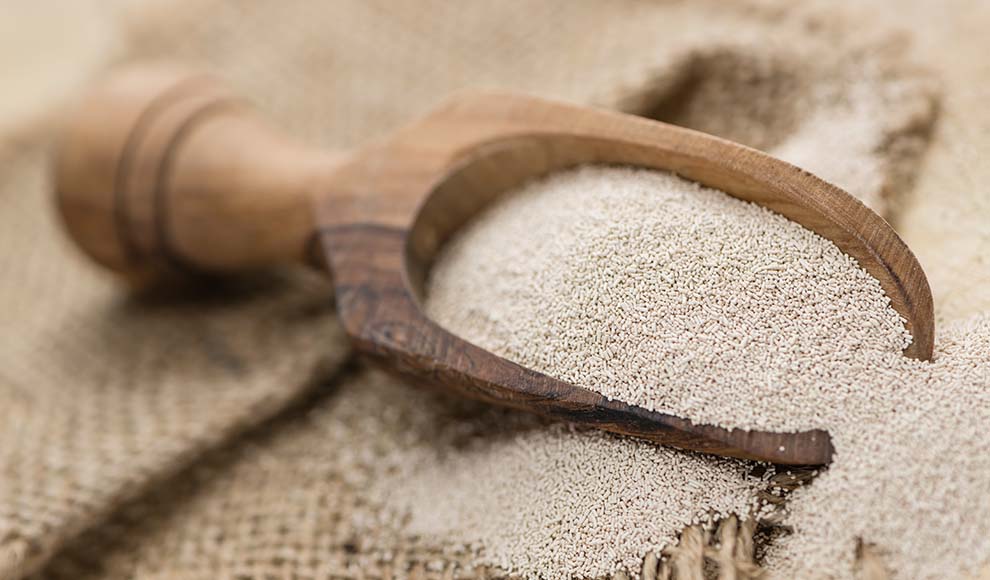
Yeast is a type of fungus, and when used in baking, it is usually in the form of active dry yeast or instant yeast. Both types of yeast need moisture, warmth, and food to activate and work effectively. The primary “food” for yeast is sugar. Once the yeast consumes sugar, it produces carbon dioxide gas and alcohol as byproducts. The carbon dioxide gas gets trapped in the dough, causing it to rise and expand. The alcohol evaporates during baking, leaving behind the delicious flavor and texture we associate with freshly baked bread.
Types of Yeast
There are several types of yeast available, but the two most commonly used in baking are active dry yeast and instant yeast.
- Active Dry Yeast: This yeast needs to be dissolved in warm water before it can be used in dough. It requires activation, which is why it’s called “active” yeast.
- Instant Yeast: This yeast can be mixed directly with the flour without the need for prior activation. It’s finer in texture than active dry yeast and can rise faster, making it a convenient option for quick recipes.
No matter which type of yeast you choose, always make sure it’s fresh. Expired yeast can lead to dough that doesn’t rise or develop the right texture.

Key Factors for Successful Yeast Baking
To get the best results when baking with yeast, you need to pay attention to the following factors:
- Temperature: Yeast thrives in warm environments. Ideal temperatures range from 100°F to 110°F (37°C to 43°C). Temperatures above 120°F (49°C) can kill the yeast, while cooler temperatures will slow down its activity. This is why it’s important to proof your yeast at the right temperature and to use warm water when activating it.
- Sugar: While yeast feeds on sugar, you don’t want to add too much sugar to the dough, as it could alter the taste and texture. Yeast doesn’t need a lot of sugar, just enough to encourage fermentation and rise.
- Time: Patience is key when working with yeast. Giving your dough enough time to rise allows the yeast to produce enough carbon dioxide to create the desired texture. Most doughs need at least one hour to rise, but some may require multiple rises, especially for richer doughs.
- Kneading: Kneading the dough helps to develop gluten, which gives bread its structure and chewiness. Gluten traps the gases produced by the yeast, allowing the dough to rise properly.
Common Yeast Baking Problems and How to Troubleshoot Them
Even with a basic understanding of yeast, problems can still arise. Here’s how to troubleshoot some of the most common yeast baking issues:
- Dough Doesn’t Rise
- Possible Causes: There could be several reasons why your dough isn’t rising. First, check that your yeast is still active and within its expiration date. If your yeast is old, it may not be effective. Also, ensure that the water temperature wasn’t too hot or too cold. Too much salt in the dough can inhibit yeast activity as well.
- Solution: Try using fresh yeast and make sure your dough is in a warm place while it rises. If the environment is too cool, consider placing the dough in an oven with just the light on or near a warm (but not hot) stovetop.
- Dough Is Too Sticky or Too Dry
- Possible Causes: The amount of flour and water can be off. If your dough is too sticky, it may have too much water, or if it’s too dry, you may have added too much flour.
- Solution: Add flour or water slowly and in small increments while mixing the dough. This will help you achieve the perfect consistency. The dough should be soft and slightly tacky but not overly sticky.
- Dense, Heavy Bread
- Possible Causes: If your bread turns out dense, it may not have been kneaded enough or might have over-proofed or under-proofed. Another possibility is that you didn’t let the dough rise enough before baking.
- Solution: Ensure you knead the dough long enough to develop gluten, and make sure it rises fully during both the first and second proofs. If you’re unsure if it’s fully proofed, perform the “poke test” by gently poking the dough with your finger. If the indentation stays, it’s ready for baking. If it springs back quickly, give it more time to rise.
- Yeast Smells Off or Is Not Rising
- Possible Causes: If your yeast smells sour or isn’t rising at all, the problem could be that the water temperature was too hot and killed the yeast or the yeast was too old.
- Solution: Always use water that is warm to the touch (not hot), and test your yeast by proofing it in warm water with a little sugar for about 5-10 minutes. If it’s active, the mixture should become frothy and bubbly. If it doesn’t, the yeast might be dead, and you should try a new batch.
- Over-proofing or Under-proofing
- Possible Causes: Over-proofing happens when dough rises for too long, causing it to collapse and lose its structure. Under-proofing occurs when the dough doesn’t rise long enough, resulting in dense, compact bread.
- Solution: Keep an eye on the dough during its proofing stage. Use a timer to prevent over-proofing, and always check the dough after the recommended proofing time to ensure it’s risen enough.